

How To Upcycle Furniture With Spray Paint
Upcycling furniture is a sustainable and imaginative way to revitalise tired or outdated pieces while reducing waste and saving money. With a little creativity and the right tools, even the most worn out item can become a statement piece. One of the simplest and most effective ways to transform furniture is by using spray paint.
It's fast, affordable, and suitable for a range of surfaces—making it the perfect medium for DIY enthusiasts and beginners alike. In this article, we’ll walk you through the process of upcycling furniture using spray paint, ensuring a smooth, professional finish every time.
Step-by-Step Guide: Upcycling Furniture with Spray Paint
Step 1: Selecting the Right Piece
Begin by selecting a piece of furniture that is structurally sound. This could be a wooden chair, a table, a bedside cabinet, a dresser, or a shelving unit.
It’s best to avoid items with major cracks, extensive water damage, or unstable joints unless you’re ready to invest time in repairs. When inspecting the surface, consider whether it can be properly prepped and painted. Even laminate or metal pieces can be upcycled if the right primer and paint are used.
Step 2: Gathering Materials and Tools
Before diving into your project, gather all the necessary materials and tools. You’ll need:
-
Spray paint that is appropriate for your furniture's surface material, whether it’s wood, metal, or plastic.
-
A suitable primer to help the paint adhere and ensure an even, long-lasting colour.
-
A clear sealant to protect the finished piece.
-
Sandpaper or a sanding block with medium and fine grit
-
Cleaning cloths
-
Painter’s tape
-
A dust sheet or protective covering
-
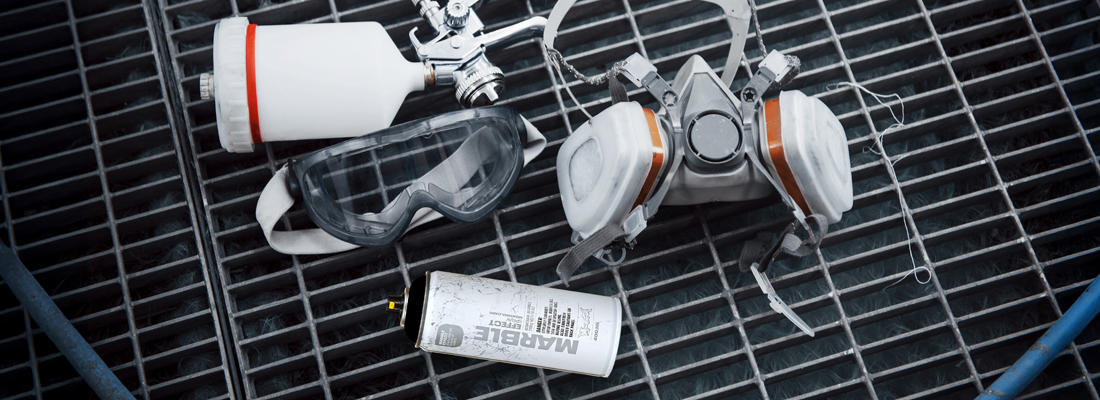
Gloves and a face mask to keep things safe.
Step 3: Preparing the Furniture
Proper preparation is key to achieving a smooth and durable finish:
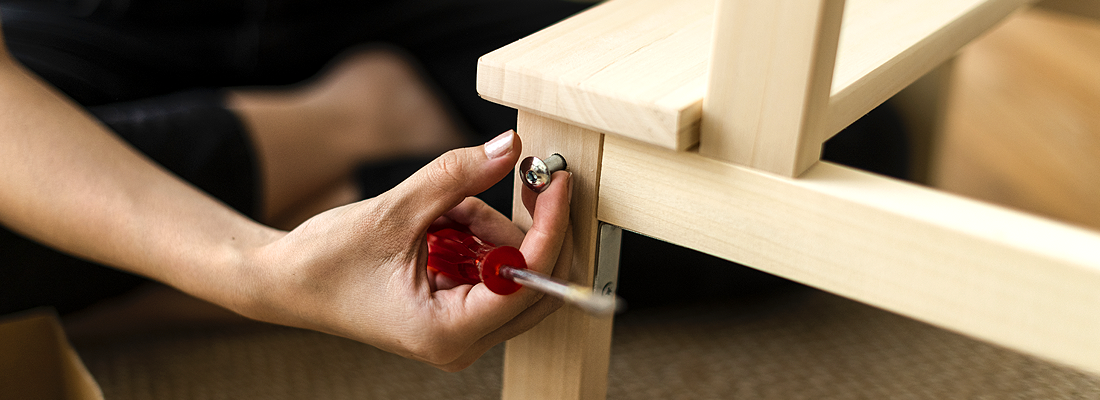
Start by removing any hardware such as knobs, handles, or hinges. If the piece of furniture can be disassembled, such as removing drawers, detachable legs, or shelves, this can make the painting process easier and help you achieve a more even finish.
Lay out all the components separately so they can be prepped and painted individually, such as knobs, handles, or drawer fronts. Sand the entire surface of the parts of the furniture you want to paint using medium-grit sandpaper to remove any gloss and to roughen the surface slightly, which helps the primer to adhere.
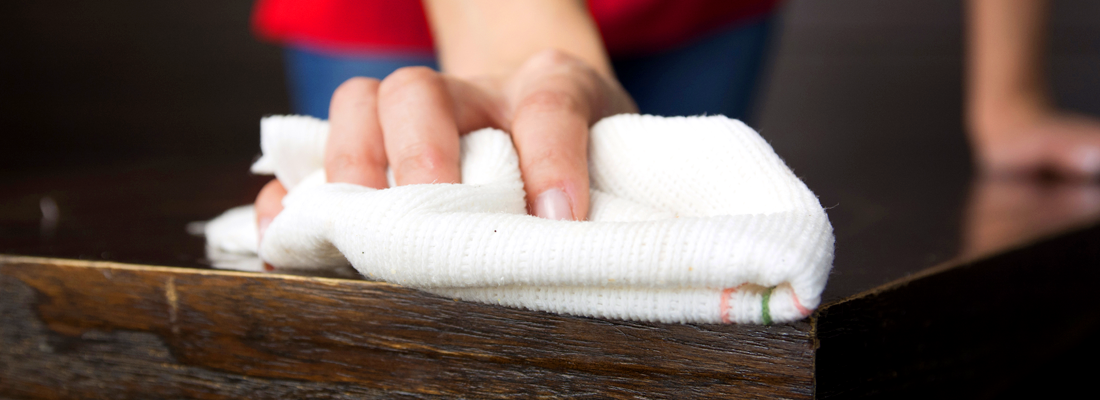
Clean the furniture thoroughly with a damp cloth, sugar soap, or mild detergent to remove any dust, grease, or residue. Once dry, apply painter’s tape to any areas you wish to protect from paint.
Step 4: Priming the Surface
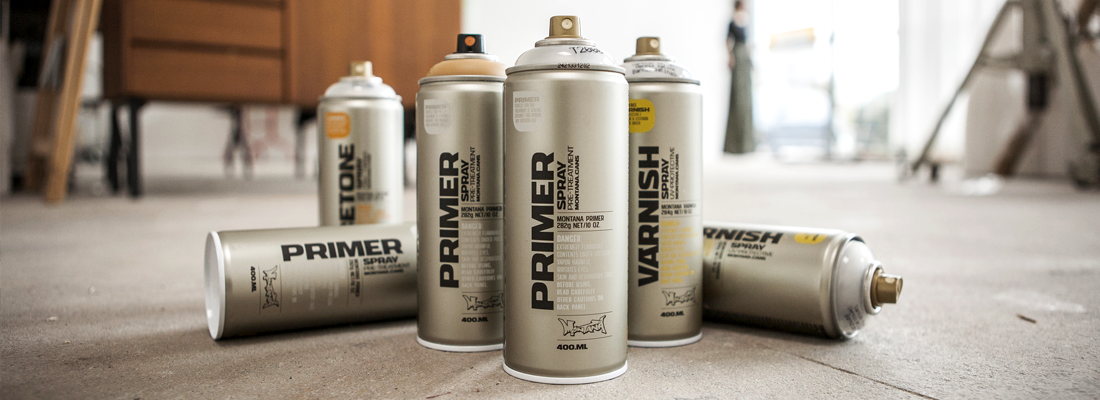
Priming your furniture is an essential step to ensure a lasting and professional looking finish. Choose a primer that’s suitable for the material of your furniture; there are different types of primer available for wood, metal, plastic, and laminate.
Shake the primer thoroughly before use and apply it in smooth, even strokes, just as you would with spray paint. Hold the can around 20 to 30 centimetres away from the surface and avoid heavy applications that can cause drips.
Allow the primer to dry fully according to the manufacturer’s instructions. This not only improves paint adhesion but also helps to block stains and create a uniform base colour, especially important if you’re painting over darker finishes or uneven tones.
Step 5: Spray Painting
Once your furniture is prepped and primed, it’s time to apply the spray paint. This is where the transformation truly begins. To get the best results when using spray paint, there are a few key techniques to be aware of:
-
Shake the spray paint well before and during use to ensure an even application. Hold the can about 20 to 30 centimetres away from the surface and spray in smooth, sweeping motions.
-
It’s better to apply multiple thin coats rather than one thick layer to avoid drips and uneven texture.
-
Allow each coat to dry thoroughly before applying the next—this typically takes 15 to 30 minutes depending on the paint used.
Learn more about spray painting techniques in our spray painting guide.

Step 6: Finishing Touches
Once the paint has dried and you’re satisfied with the finish, it’s time to apply the final touches. Spray a clear topcoat sealant over the painted surface to add durability and protect your work. Reattach any original hardware or consider replacing it with something new to further enhance the look. You can also add decorative details such as stencils, decals, or hand-painted patterns for a more customised result.
Step 7: Maintenance and Care
To keep your upcycled furniture looking great for years to come, a bit of ongoing care is essential. Clean the surface gently with a soft, damp cloth and avoid using harsh chemical cleaners that could damage the paint. Be mindful of wear and tear; use coasters or mats to protect tabletops and touch up any chips or scratches as needed. With proper care, your upcycled piece can remain a beloved part of your home for years.
Design Ideas & Inspiration For Upcycling Furniture
Upcycling is a fantastic opportunity to showcase your creativity and reflect your personal style. Spray paint isn’t just about colour, it’s about character. Whether you're going for a sleek modern look or something with a bit more personality, there’s a finish and style out there for you.
If you love a clean and contemporary feel, try soft neutrals or monochrome tones to create that minimalist vibe. Want something a bit more lived-in and vintage? Distressing techniques and chalky pastels work wonders for that shabby-chic charm.
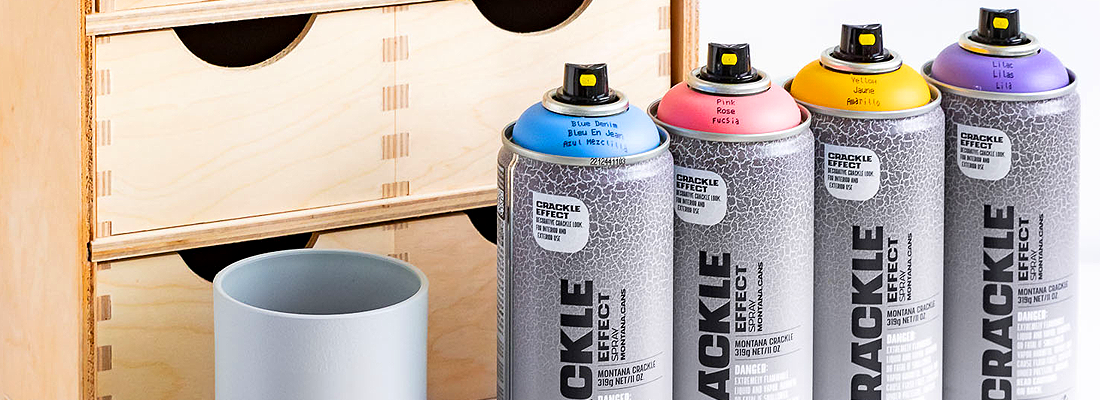
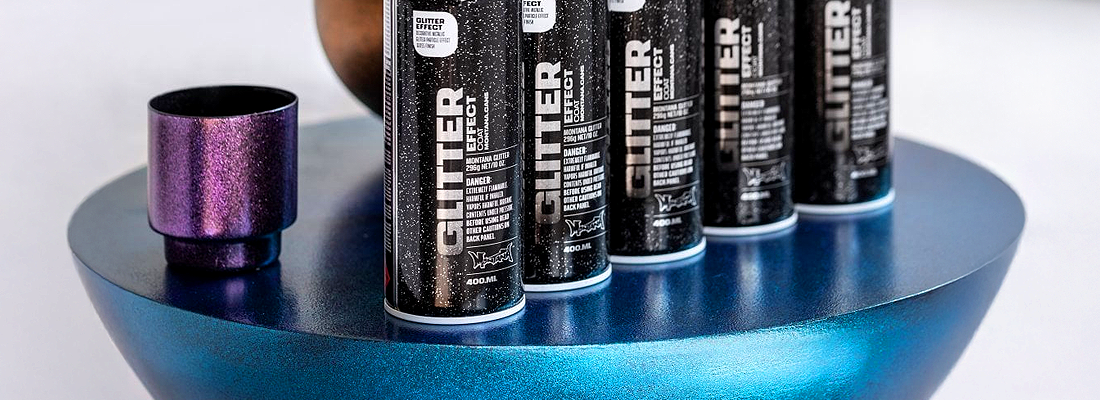
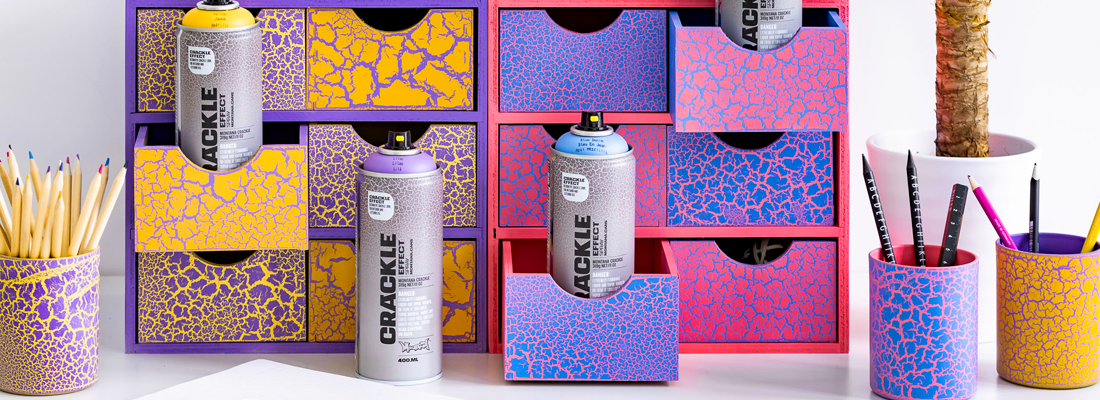
Alternatively, go bright with vibrant colours or mix contrasting tones for a bold statement piece that really adds something special to a room. You can even take things up a notch by using special effects. Montana spray paints offer a range of these, from marble and concrete textures that give a tactile, industrial edge, to metallic or glitter finishes that add a bit of luxe to any piece. There’s even a superb rust effect that’s perfect for achieving an aged look.
Inspiration is everywhere, and the best part is, there's no wrong way to do it. Just follow your instincts, test things out, and don’t be afraid to experiment.
Upcycle Furniture For Your Home
Upcycling furniture with spray paint is an enjoyable, environmentally conscious, and satisfying project that allows you to breathe new life into old items. It’s a practical way to save money, reduce waste, and create something uniquely yours. So why not give it a go? Browse the wide selection of spray paints and upcycling tools available now at Fat Buddha, and start your next creative project today.
Shop Spray Paint Supplies