Spray Paint Project:
Create A Metallic
Effect Vase
or Bottle
With society's growing focus on helping to protect our planet from decades of irreversible environmental damage and climate change, more and more people are turning to the art of upcycling as a viable way of transforming their home and living. Upcycling is the action of reusing an object or a material to fashion it into something new, and of more value than it previously was. Luckily for all of the DIYers out there, Montana's metallic effect spray paints make the perfect project companion.
In this guide, we'll be showing you how to turn an old vase or unwanted bottle into a gorgeous new item with a cool metallic finish. We’ll look at how to prep your item, safely apply the spray paint, and finish it with a protective layer of varnish for that slick look. Read on to learn more.
Step 1 - Find Your Item
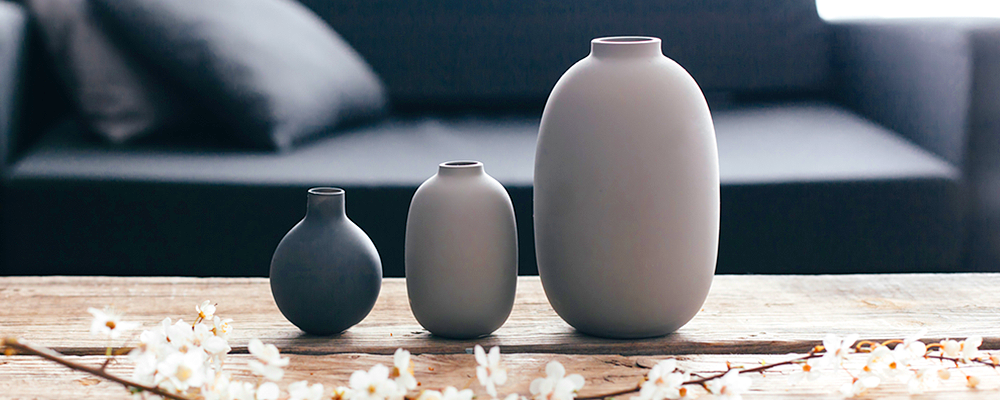
You might already have an old vase lying around the house, or an old bottle that you’d like to use for this project. If not, take a trip to a local thrift store and see what you can find, or finish off that bottle of your favourite tipple.
Once you’ve got an item to use, we’re ready to get started on the project.
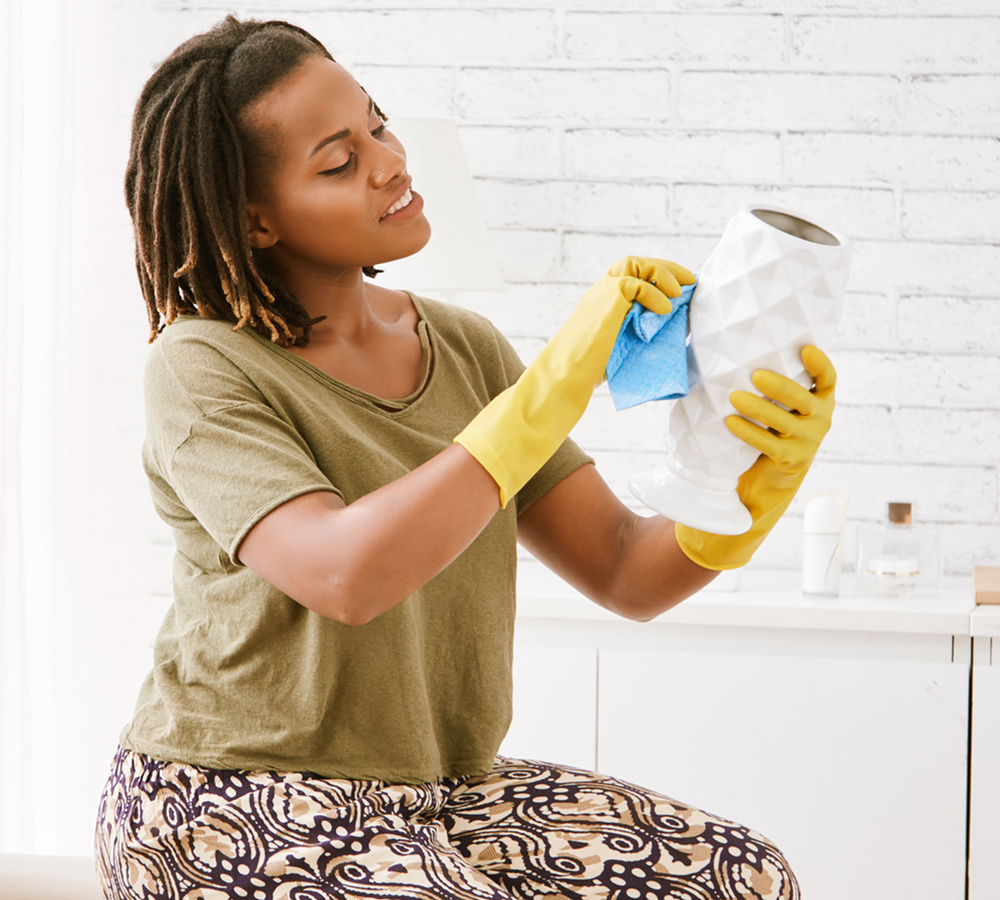
Step 2 - Preparation
Before you upcycle your glass bottle or old vase, you need to prepare it. First of all, in the case of an old bottle that might have had a drink in it, or an old vase which has held flowers for years on end, you'll need to make sure that it is properly cleaned. This means getting rid of every single bit of matter from inside the container, as anything that gets in the way could lead to an imperfect finish.
Additionally, you'll need to make sure that your bottle or jar is as dry as it can be. Any moisture could stop the adhesion, meaning that your project won't be at its best. Only when you're dealing with a very clean and dry subject can you get the finish your work truly deserves.
Before applying metallic effect paint, you may wish to use a primer to ready the surface. While not strictly necessary on what is likely a smooth surface such as glass or ceramic, this will help to give an even starting point for the metallic effect paint to stick to, for a superb finished look.
Step 3 - Apply Montana Metallic Effect
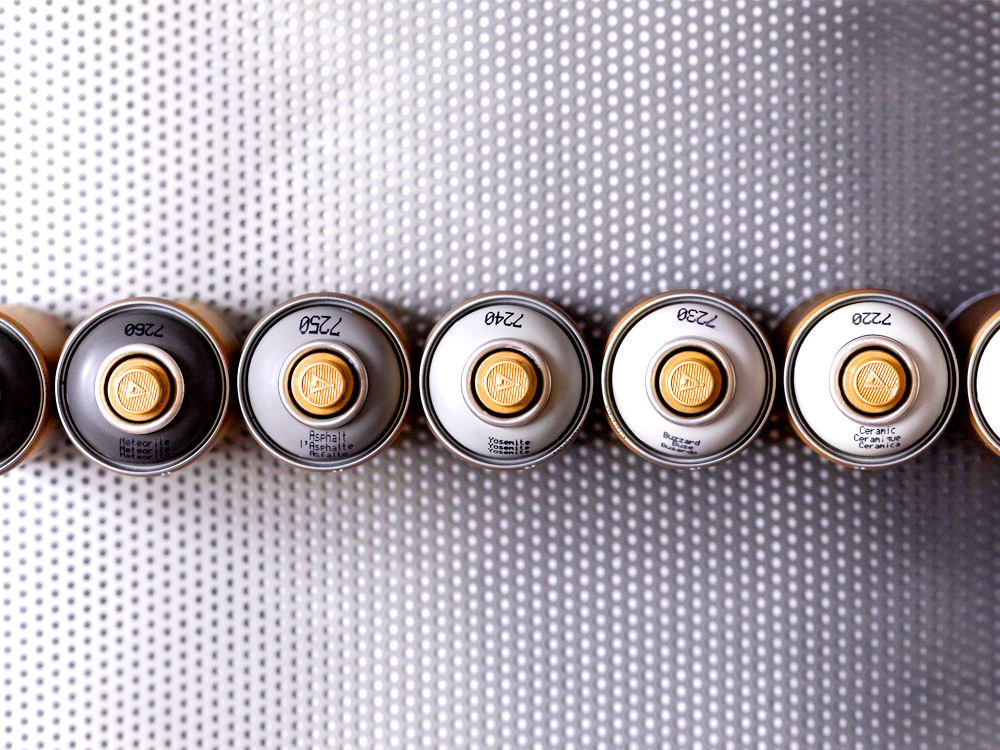
Montana metallic products are applied in a similar manner to other sprayable paints. The spray should be applied at a distance of around 20cm after being shaken for 3 minutes, with the product needing to be shaken between every pause of applications.
The drying time can vary based on temperature, but at a regular room temperature of 20 degrees celsius you will need to wait 10 minutes for your upcycled vase or glass bottle to be dust dry, 20 minutes to be dry to the touch and 24 hours to be completely cured.
The number of coats you'll need vary widely from item to item. For example, applying a Montana metallic product onto a light coloured or clear item will only require two or three coats before you'll achieve the results you desire. On the other hand, a black or otherwise dark coloured item would require far more coats, depending on the shade.
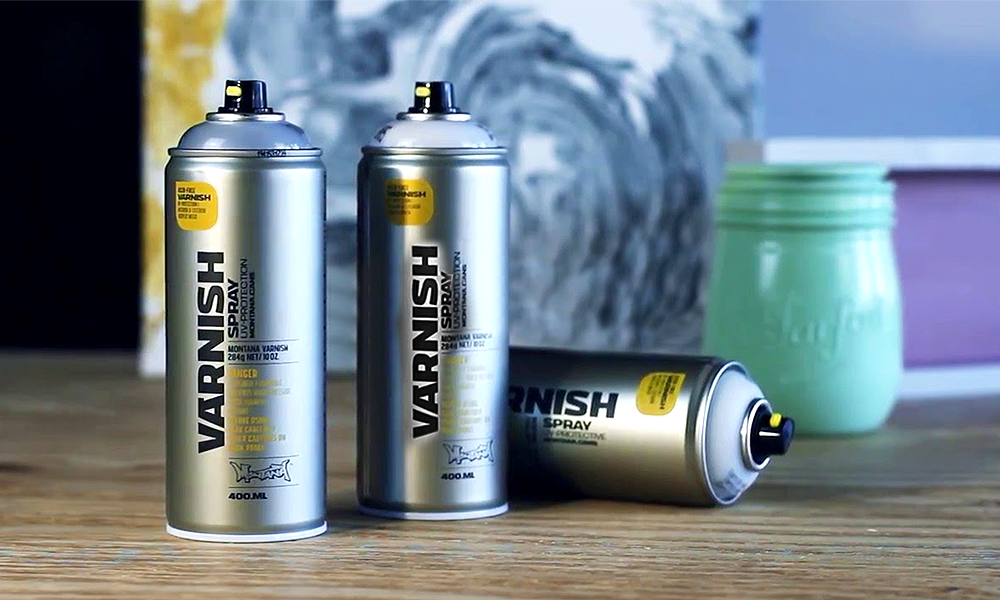
Step 4 - Finishing With Varnish
After you've waited 24 hours and your item is completely cured, you can apply Montana Varnish. This will completely weatherproof your item and stop it from receiving any damaging scratches, keeping your beautiful upcycled vase or bottle in the best condition possible.
Varnish is available in a number of finishes including matte, satin or gloss so you can get the specific look that you want from your item.