

Spray Paint Project: Refresh An Old Lamp Using Spray Paint
Lamps are an essential part of any home, and one of the best ways to set the mood of a room once the sun goes down. However, over time, they can start to look outdated or may no longer fit with your décor.
Instead of replacing an old lamp, why not give it a completely new lease of life with spray paint? It’s an easy and cost-effective way to customise your home accessories and create a unique look that matches your style perfectly.
Spray painting is a straightforward yet effective technique that allows you to transform a tired lamp into something fresh and stylish. With a wide range of options for colours and finishes, Montana spray paint can deliver professional-looking results with minimal effort. And the best part? You don’t need any specialist skills to achieve it.
If you’re ready to get creative and refresh an old lamp with spray paint, let’s dive into the step-by-step process for achieving a stunning result.
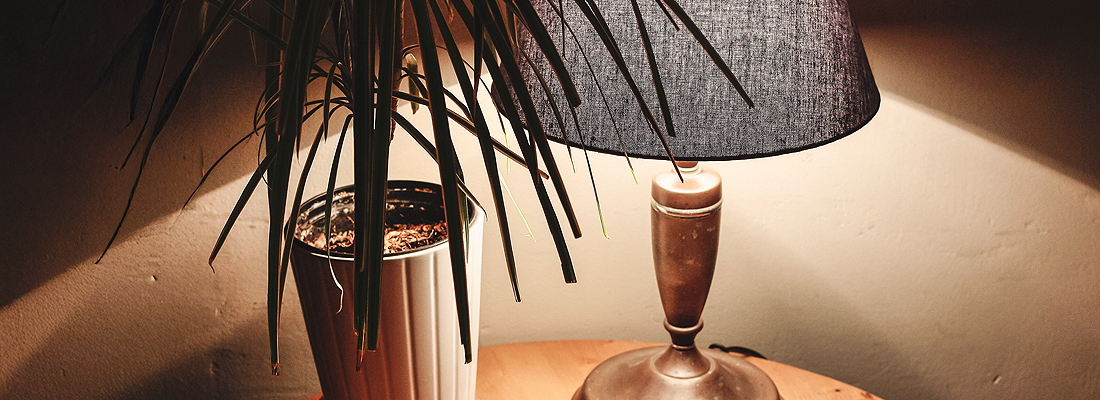
Selecting Your Lamp
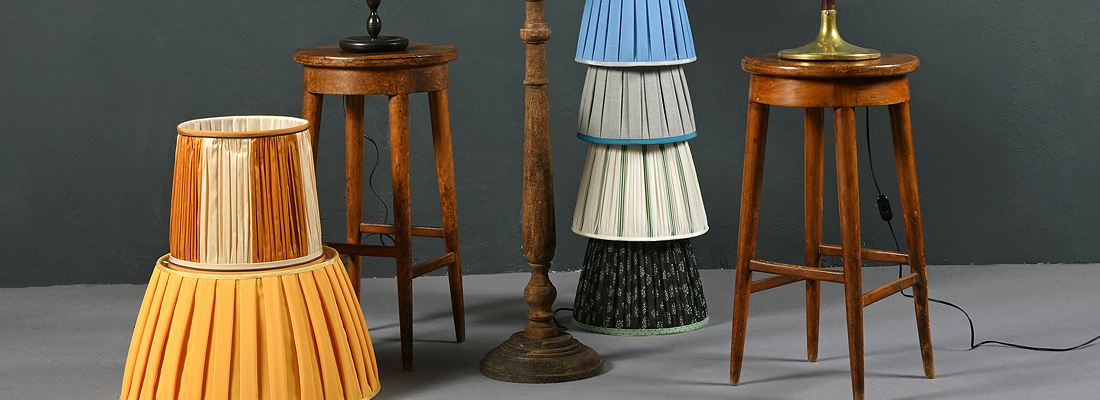
When choosing a lamp to refurbish, consider both its material and design. Lamps made from metal or plastic are ideal candidates, as these surfaces are generally receptive to spray paint when properly prepared. Wood is also a popular choice, although you might need to spend a bit more time sanding or priming the surface before you start painting.
Ensure the lamp's shape and style align with your vision for the space it will occupy. For instance, a sleek, modern lamp base can be transformed with a high-gloss finish, while a vintage design might benefit from a matte or satin look to enhance its classic appeal.
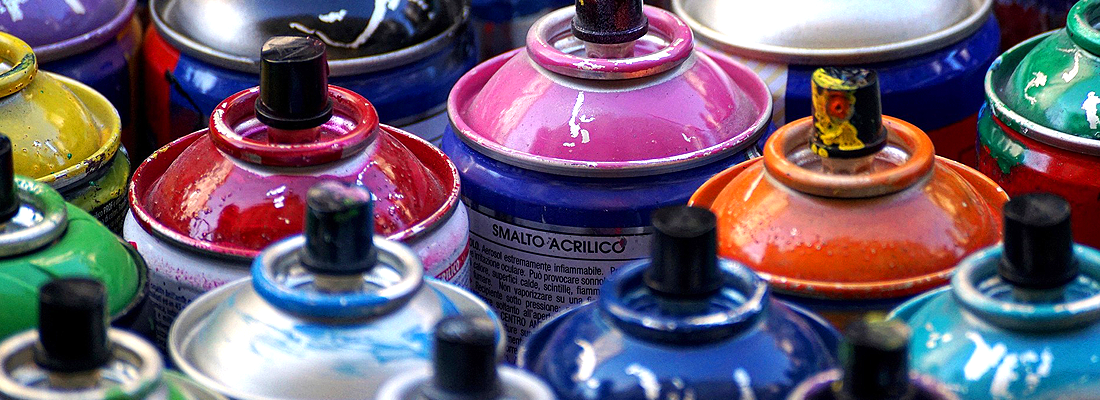
Choosing Colour Schemes & Finishes
This is the fun bit, choosing how your lamp will look once it’s had its glow-up. Start by thinking about the space it’s going to live in. Do you want it to blend in with your existing décor or stand out as a bold accent piece?
Soft neutrals like black, white, creams or greys are always a safe bet if you’re after something versatile. But if you want to create a bit more of a statement piece, go for something bolder. A pop of colour can completely change the feel of a room and there are plenty to choose from when using spray paints.
Then there’s the finish to consider, and spray paints give you loads of creative options here. A matte finish gives a smooth, understated look that works well in minimalist or Scandi-style interiors. Glossy finishes, on the other hand, offer a sleek, polished feel which are great for more modern or luxe spaces. Satin is the sweet spot in between, with a subtle sheen that works pretty much anywhere.
If you want to go beyond the basics, Montana has some brilliant speciality finishes that can really elevate your project. Their metallic range adds a touch of shine; think brushed gold or chrome for that high-end feel. For something a bit more textured and unexpected, there’s marble effect, which creates delicate veining for a sophisticated finish, or the granite effect, perfect if you want something tactile and a little industrial. There’s even a concrete effect spray paint if you're going for that raw, urban look.
You should also think about the type of lampshade you want to pair with the base. If you’ve selected a vibrant, patterned fabric, consider something more subtle in a coordinating colour for the base to get maximum impact from the design of the shade. If you’re going with something a bit more minimal at the top of your lamp, think about creating a dramatic base using colour or effects to achieve something unique and visually interesting.
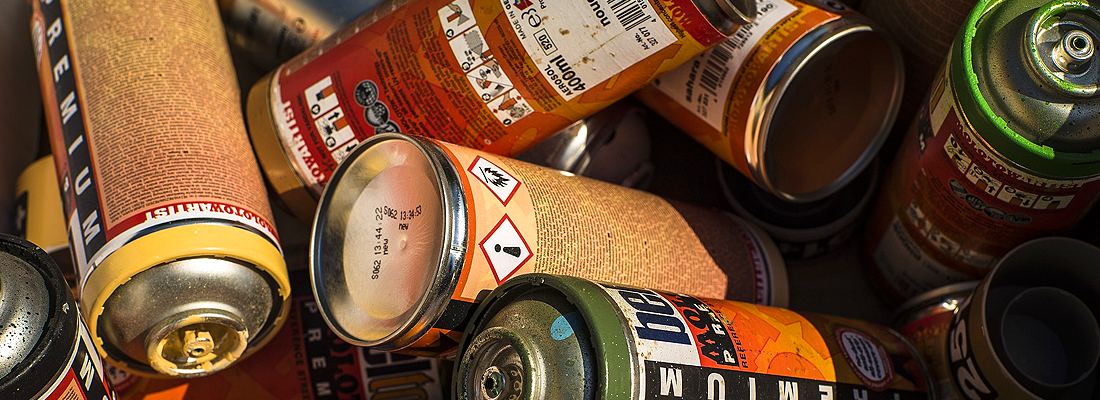
Materials & Tools Needed
Before starting your project, gather the following materials:
-
Spray paint suitable for the lamp's material (metal, wood or plastic)
-
Primer compatible with the surface
-
Sandpaper (220-grit recommended)
-
Painter's tape
-
Cloth or plastic sheet to protect your workspace
-
Safety gear: gloves, mask, and safety glasses
Selecting the right spray paint is crucial for ensuring a durable and attractive finish. For metal surfaces, products such as Montana Gold spray paints are an excellent choice, offering a professional standard finish on various surfaces, including steel and aluminium.
How To Spray Paint Your Lamp: Step-By-Step
Once you’ve decided on the colour and design you’d like to go with, and have gathered all the supplies you’ll need, it’s time to get started. The following steps explain how to ensure you get a great finish for your project:
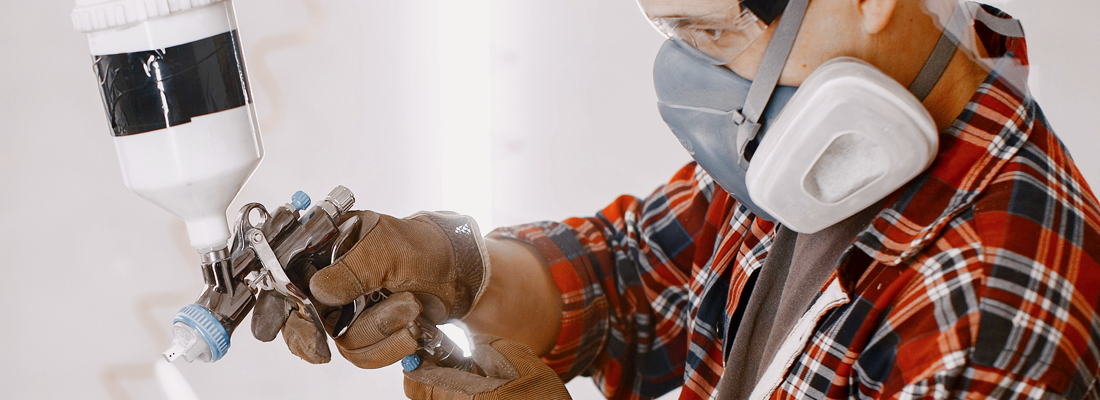
Step 1: Setting Up Your Workspace
Choose a well-ventilated area, preferably outdoors or in a garage with open doors and windows. Lay down a drop cloth or newspaper to protect surfaces from overspray. Wearing gloves, a mask, and safety glasses will also help keep you protected from paint fumes and particles.
Step 2: Preparing the Lamp
Preparation is key to achieving a flawless finish. It’s always worth spending a bit of time preparing your surface before you start painting so that the paint sticks evenly and dries smoothly.
-
Disassemble the Lamp: If possible, remove the lampshade, bulb, and any detachable parts to make painting easier and protect these components from paint.
-
Clean the Surface: Wipe down the lamp with a damp cloth to remove dust and grime. For stubborn dirt or grease, use a mild detergent solution, and then let the lamp dry completely.
-
Sand the Surface: Lightly sand the lamp's surface with 220-grit sandpaper to create a texture that helps the primer and paint adhere better. This step is particularly important for glossy or smooth surfaces.
-
Protect Areas Not to Be Painted: Use painter's tape to cover any parts of the lamp you don't want to paint, such as the socket, cord, or intricate details.
Step 3: Applying Primer
Using a primer is key to ensuring your spray paint adheres properly and provides an even base. Depending on the material of your lamp, you'll need the right type of Montana primer:
If your lamp is made of plastic, this primer is essential. It enhances paint adhesion and prevents flaking, ensuring a long-lasting and smooth finish.
For metal lamps, this primer improves durability and helps the paint resist chips and scratches over time.
If your lamp has mixed materials or you're unsure of the surface type, a universal primer is a great all-round option. It provides a solid base on various surfaces, ensuring a professional-quality result.
Shake the primer well before use and apply a light, even coat over the lamp’s surface. Hold the can about 20–30 cm away and spray in smooth, sweeping motions. Allow it to dry completely before moving on to the next step.
Step 4: Applying the Spray Paint
Now that the primer has dried, it's time to paint. Follow these tips to achieve a clean, even finish:
-
Shake the Can Thoroughly: Before spraying, shake the can for at least one minute to ensure the paint is properly mixed.
-
Maintain the Right Distance: Hold the can 25 cm away from the lamp to avoid excess paint build-up and drips.
-
Use Smooth, Overlapping Strokes: Move the can in long, even sweeps, slightly overlapping each pass to ensure full coverage.
-
Apply Multiple Thin Coats: Instead of one thick coat, build up the colour gradually with 2–3 thin coats. Allow 5–10 minutes of drying time between coats to prevent runs and uneven coverage.
Step 5: Allow Proper Drying Time
Once you’re satisfied with the coverage, let the paint dry completely. Most spray paints require at least 24 hours for a full cure, but always check the specific drying time on your chosen product.
Step 6: Reassemble & Display
Once the paint has fully dried, carefully remove any painter’s tape and reattach any components you removed earlier, such as the lampshade and bulb. Take a moment to inspect the finish and ensure there are no missed spots or uneven areas.
Now it’s time to style your newly refreshed lamp! Whether placed on a bedside table, in a cosy reading nook, or as a statement piece on a console, the updated colour and finish can help tie your décor together.
Ready to Start Your Lamp Makeover?
Revamping an old lamp with spray paint is a straightforward yet impactful project that can rejuvenate your living space. By following these steps, you can transform a dated fixture into a customised décor element that reflects your style.
If you're feeling inspired to take on more DIY spray paint projects, check out our other spray paint guides for more tips and ideas. And when you're ready to get started, browse our wide selection of spray paint supplies to find the perfect products for your project.