


Spray Paint Project:
A fresh new paint job for your bike
Whether you use your bike for commuting or just enjoy riding in your leisure time, cycling is a great way to stay fit and help the environment. If your bike is looking a bit worn or you want a more custom, individual look, refreshing it with spray paint is easier than you might think. This guide will walk you through the steps to achieve a fantastic finish with quality spray paints.
For a professional-grade result, our favourite paint options are Spray.Bike or Montana Gold.
-
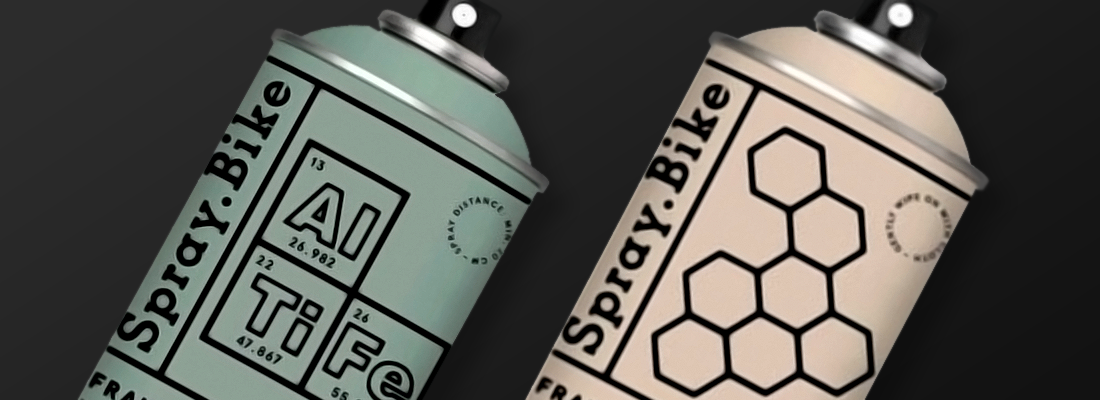
Spray.Bike is a range of spray paints that is specifically formulated for bicycles, providing excellent coverage and adhesion on bike frames with colours that resist weathering and wear.
-
Montana Gold, made by one of the world’s leading spray paint brands, offers a wide range of acrylic lacquer paints known for their smooth, durable finish on surfaces like steel and aluminium.
Both options offer high quality paints that can give your bike a unique, long-lasting look. They leave a finish that is smooth, free from cracks and durable enough to withstand the worst of British weather while you’re out on your bike.
Project Preparation Checklist
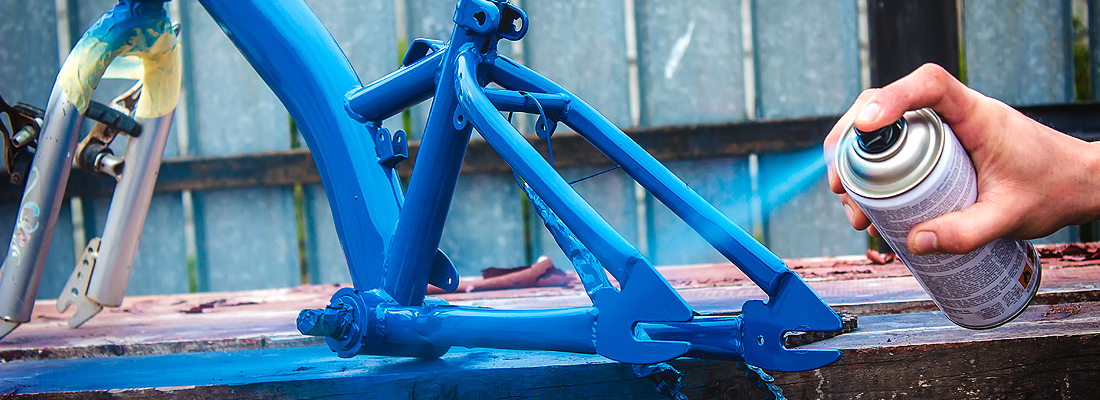
To help you get started, here’s a checklist of items you’ll need:
-
Bike stand or drop cloth
-
Paint remover spray (optional)
-
Primer (specific to bike frame material)
-
Masking tape
-
Clear coat or varnish for protection
-
Sandpaper (medium and fine grit)
-
Cleaner/degreaser
-
Montana Gold or Spray.Bike paint in your chosen colours
-
Protective gloves, safety mask, and eyewear
Let’s take a closer look at each step involved in creating your custom-painted bike!
Safety First
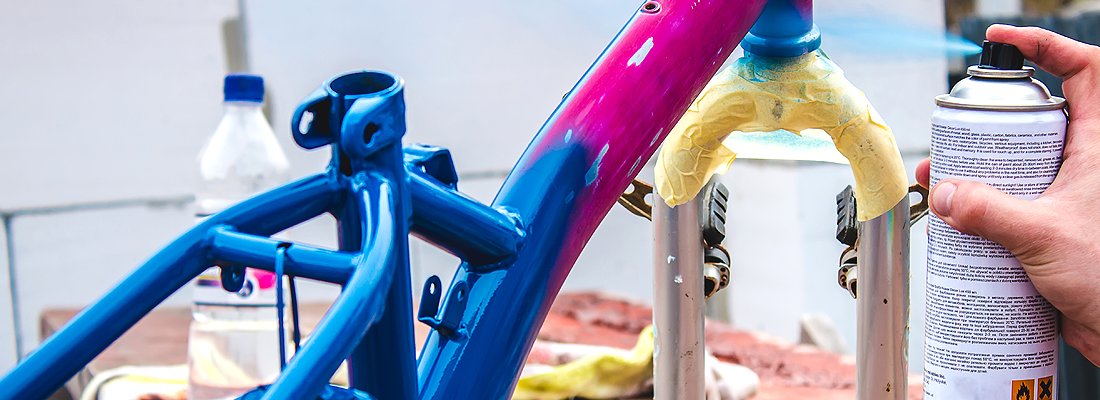
Spray painting can release fumes and particles, so it’s important to work in a well-ventilated area, such as outdoors or in a space with open windows. Always wear protective gloves and a mask to avoid inhaling paint particles.
Step1: isolate the frame
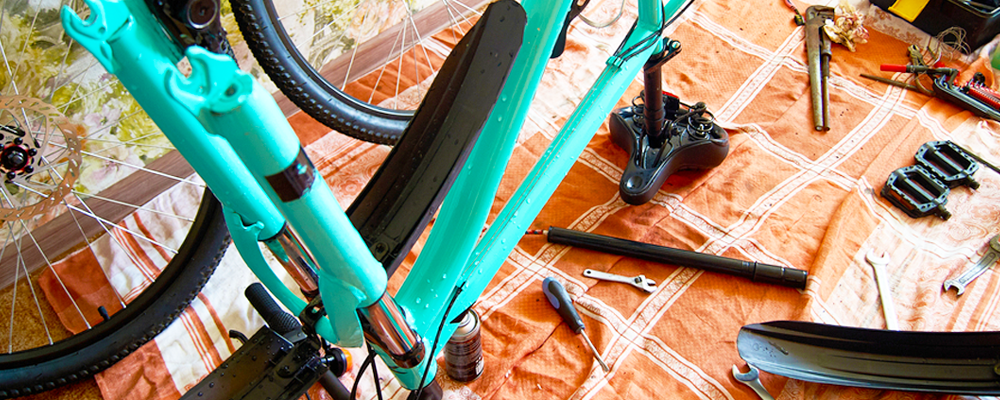
Begin by identifying the parts of the bike you want to paint, usually the frame and the forks. We don’t recommend painting components like gears, brakes, or tires.
Removing the wheels makes the frame much easier to access, and taking off the pedals, gears and handlebars can help to ensure your paint reaches all the little nooks and crannies for a professional finish, while protecting them from overspray or mist when it comes time to apply the paint.
Step 2: remove the old paint
Before applying a fresh new coat of paint to your bike, it’s advisable to remove the old paintwork, along with any rust that you can see on the frame. While this might not sound like the most enjoyable task, it’s worth putting in the effort by sanding down your bike’s frame to remove as much of the existing paint as you can.
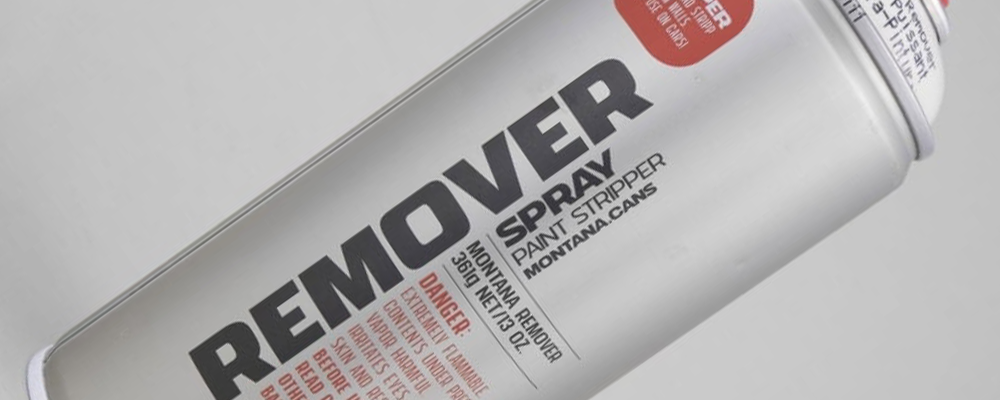
You may also be able to use a paint remover spray to help you with the task. Preparation is key to achieving a great finish, and the work you put in at this stage will pay off big time once the project is complete.
Step 3: Clean your bike
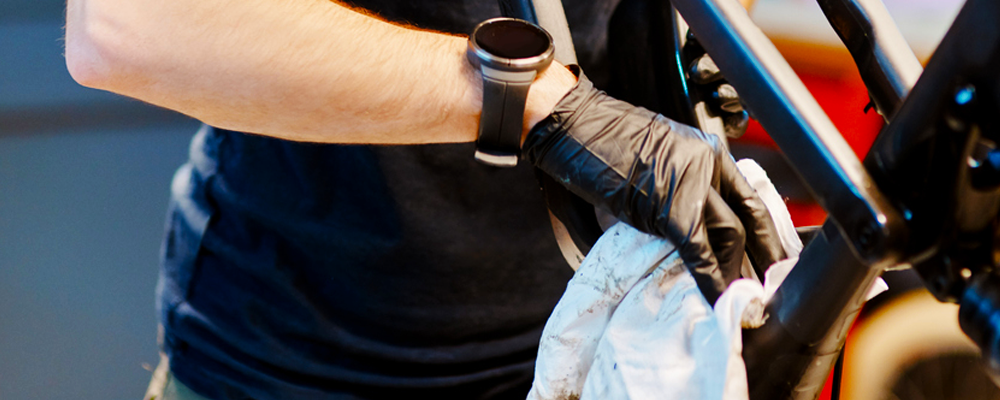
Once you have your bare bike frame to work with, it’s recommended to give everything a good clean. This will enable you to achieve the best finish possible and mean that the layers of paint will adhere to the surface as intended.
Clean off any dust, grease, dirt and grime with an appropriate cleaning solution and then dry everything thoroughly. This is also a good opportunity to clean your bike’s other components so that everything is looking as good as new once you’ve finished the project.
Step 4: prime the surface
For the best results, apply a primer suitable for your bike’s frame material. This gets the surface ready to accept the spray paint and helps to ensure a tough and long lasting finish. If you’re using Montana Gold, we recommend Montana Metal Primer for steel frames or Montana Aluminum Primer for aluminium.
With Spray.Bike, a primer isn’t always required due to its unique formulation, but taking this step will improve adhesion and durability, especially on older frames. Choose from Spray.Bike’s Metal Primer, which is suitable for steel, aluminium and titanium, and formulated to help protect against rust, or Carbon Primer that is specifically developed for carbon fibre frames. Allow the primer to dry fully, following the time recommendations on the can.
Step 5: apply the paint
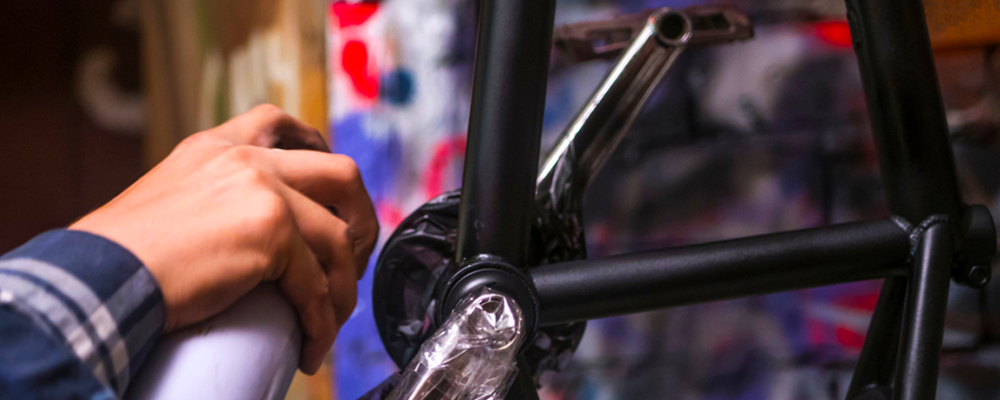
Now it’s time for the fun part: applying the paint. Both Montana Gold and Spray.Bike offer a huge range of colour choices, along with metallics, neons and matte finishes for a more stealthy look.
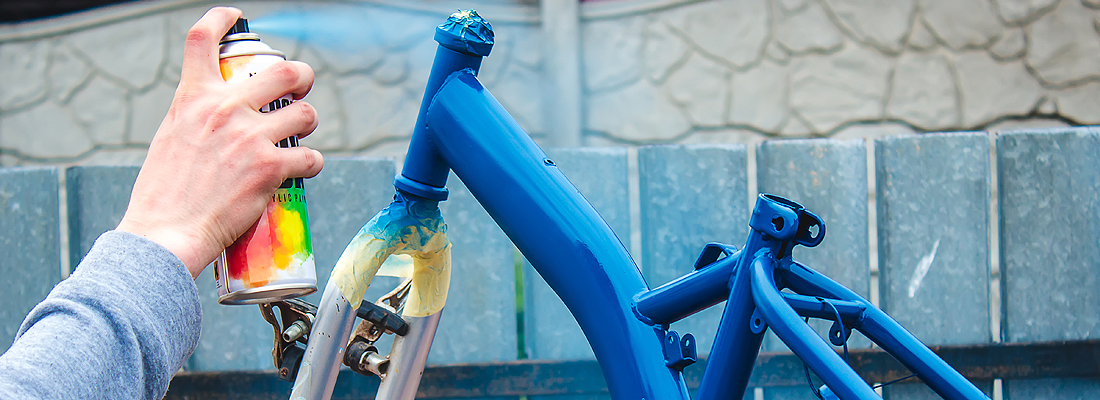
Whichever paint option you have chosen, apply by spraying in smooth consistent sweeps across the frame, holding the can about 25cm from the surface. To get the best finish, it’s recommended to apply multiple thin layers to avoid any drips or patches. Leave to dry between coats for the recommended time, which will depend on factors such as the weather and the temperature of your environment.
For a more creative look, you can try multi-colour designs by masking off sections of the frame with tape after applying the first colour. This technique can produce a range of effects, from simple two-tone looks to complex patterns.
Step 6: Protect the surface
Once the paint is completely dry, you may want to protect your masterpiece with a topcoat. A clear varnish will add an extra layer of protection, especially if your bike spends a lot of time outdoors.
Spray.Bike Transparent Finish is designed for easy application and ensures your paint will remain vibrant and protected, while Montana Varnish Sprays come in gloss, semi-gloss, and matte finishes, letting you choose the specific look you want.
A single layer of topcoat is usually sufficient, however for the ultimate in protection two layers are recommended. Leave 2 hours between coats, and then at least 24 hours after you’ve finished to allow the topcoat to fully cure before moving onto the next step.
Step 7: reassemble and enjoy
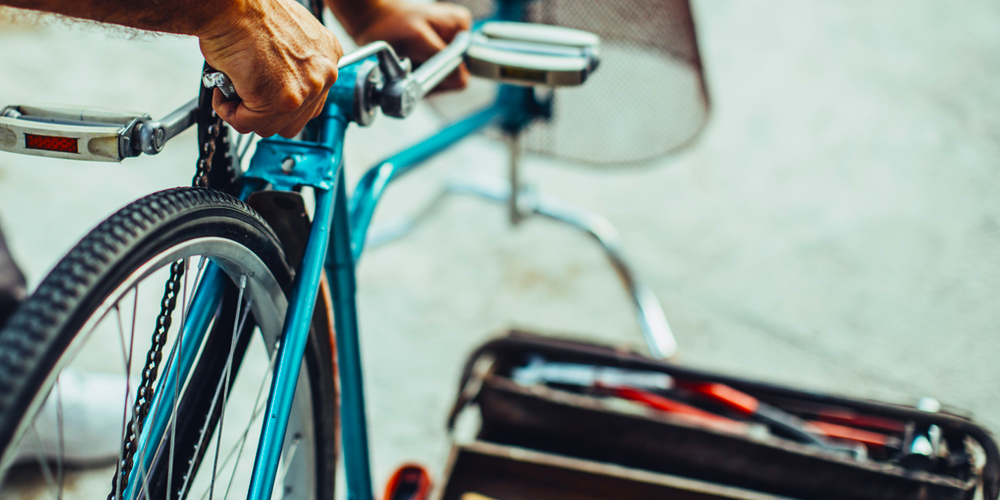
When the final coat of paint or varnish on your bike is completely dry and cured, it’s time to put everything back together. Reassemble your bike and give everything a quick check to make sure it’s working as it should, particularly the brakes and gears.
Now you’re all set to head out on your one of a kind, custom painted bike. Expect some envious glances from fellow cyclists!
Tips for Choosing Bike Paint Colours & Finishes
Go Bold or Keep It Subtle
Bright or neon colours stand out, help you stay visible on the road and can add a fun look to your bike. Darker shades or matte finishes offer a sleeker, more understated style.
Combine Finishes
Try pairing matte and gloss finishes for a unique look, like a matte frame with gloss accents. Or mix solid paints with metallic effect sections in a similar colour to bring an extra dimension to the look of your bike.
Reflect Your Style
Consider colours that reflect your personal style for a bike that’s fully bespoke to you. Or match with your favourite riding gear for a coordinated look out on the road.
Take Inspiration From Your Interests
Create a paint scheme that represents your interests for something that stands out to other enthusiasts. From colourways that match your favourite sports team, to a paint job resembling an iconic vehicle from your favourite movie, the possibilities are vast.
Common Mistakes to Avoid When Painting Your Bike
1. Skipping the Primer
Many people skip the primer step, especially if they’re in a hurry or the new paint colour is similar to the old one. However, primer is essential for proper paint adhesion and achieving a smooth, even finish, especially on metal surfaces. Without primer, the paint is more likely to chip, peel, or wear away quickly.
Tip: Always use a primer suited to your bike’s frame material, such as a metal or aluminium-specific primer, to help the paint bond effectively and ensure a lasting result.
2. Rushing the Drying Times
Applying new paint coats before the previous layer has fully dried is a common mistake. This can lead to bubbling, cracking, and an uneven surface that affects the durability of the finish. Each layer needs adequate time to set, which is why it’s best to follow the recommended drying times on the paint can.
Tip: Even if the paint feels dry to the touch, waiting a bit longer can help ensure each layer is properly cured for a more polished, professional look.
3. Holding the Can Too Close or Too Far Away
Another common issue is holding the spray can either too close or too far from the surface, which can result in uneven coverage. Holding it too close may cause drips and pooling, while holding it too far away can lead to patchy, inconsistent coverage.
Tip: Aim to keep the can at a consistent 25 cm (10 inches) from the surface, moving in smooth, even sweeps to achieve balanced, controlled layers without wasting paint or creating imperfections.
4. Applying Too Much Paint at Once
In an attempt to speed up the process, some people apply thick layers of paint, hoping for quicker coverage. Unfortunately, this often leads to drips, runs, and an uneven surface that detracts from the final look.
Tip: For best results, apply multiple thin coats, allowing each layer to dry before applying the next. Thin layers prevent dripping and provide a more even finish, helping the paint to look smooth and professional.
5. Not Cleaning the Frame Thoroughly
Painting over a frame that hasn’t been properly cleaned is another common mistake. Dust, grease, or leftover paint residue can interfere with paint adhesion, leading to flaking or peeling over time.
Tip: After sanding, be sure to clean the frame with a degreaser or mild cleaner, and allow it to dry completely. This step may seem minor, but it significantly improves the paint’s ability to stick to the frame and enhances the final finish.
6. Ignoring Temperature and Humidity
Weather conditions can greatly impact spray painting results. Painting in cold, humid, or windy conditions can cause paint to dry unevenly and reduce durability. Cold temperatures, for instance, can prevent the paint from curing properly, while humidity may cause streaking or a dull finish.
Tip: Whenever possible, paint in a well-ventilated space with mild temperatures and low humidity to ensure a smooth, consistent finish.
7. Overlooking Safety Precautions
Spray painting without proper ventilation or personal protective equipment can pose health risks, as spray paints often contain chemicals that are harmful if inhaled or absorbed through the skin.
Tip: Always paint in a well-ventilated area, and use protective gear such as masks, gloves, and safety goggles. Taking these precautions will help protect you from fumes and ensure a safer project.
8. Skipping a Clear Coat or Varnish
Many people overlook applying a clear coat or varnish, which is an important step for bikes exposed to outdoor conditions. A clear coat acts as a protective layer that helps prevent scratches, UV damage, and weather wear.
Tip: To extend the life of your paint job, apply a clear varnish over the paint once it’s dry. Varnishes are available in gloss, semi-gloss, or matte finishes, so you can choose a look that complements your bike.
9. Not Sanding Between Coats
Sanding between coats may seem tedious, but it’s essential for achieving a smooth, even finish. Skipping this step can lead to a build-up of imperfections that become visible in the final coat.
Tip: Lightly sanding between layers with fine-grit sandpaper ensures each coat adheres properly and smooths out any bumps or rough spots. Be sure to clean off dust before applying the next coat for the best results.
10. Using the Wrong Type of Paint
Using paints that aren’t designed for metal or outdoor conditions can result in peeling, chipping, or fading. Many general-purpose spray paints lack the durability needed for bikes, especially those exposed to the elements.
Tip: For a long-lasting finish, use high-quality spray paints specifically designed for metal surfaces and outdoor wear, like Montana Gold or Spray.Bike. These paints are formulated to withstand weathering and provide a durable, professional finish.
Maintenance Tips
To keep your new paint job looking its best:
-
Clean your bike regularly with a soft, damp cloth. Avoid harsh chemicals, as they can damage the paint.
-
Reapply a clear coat periodically if your bike spends a lot of time outdoors.
-
Touch up any scratches or chips promptly to prevent them from worsening.
FAQs About Spray Painting Your Bike
Q: Do I need to sand the bike frame completely down to the metal?
While it’s not always necessary to sand down to bare metal, removing as much old paint as possible will give the best results. Sanding roughens the surface slightly, allowing the new paint to adhere better. If there are layers of thick paint or rust spots, it's best to sand those areas down thoroughly.
Q: How many coats of primer/paint should I apply?
We recommend one to two coats of primer and several thin coats of paint. Thin layers ensure an even finish and prevent drips.
Q: How long should I wait between coats of paint?
Waiting times between coats can vary based on the paint, temperature, and humidity. Generally, waiting 10-15 minutes between light coats in warm, dry conditions works well. Be sure to check the drying recommendations on the paint can, as cooler or more humid conditions may require longer drying times.
Q: What’s the best way to avoid drips or uneven coverage?
Hold the spray can about 25 cm (10 inches) from the frame, and move in smooth, even strokes across the surface. Apply thin, multiple coats rather than one thick coat, as this helps prevent drips and patchiness.
Q: Can I spray paint my bike without disassembling it?
While it’s possible to paint a bike without taking it apart, you’ll get a cleaner, more professional finish by removing components like wheels, pedals, and gears. Disassembly helps you reach all areas of the frame more easily and prevents accidental paint coverage on parts that shouldn’t be painted.
Q: How do I prevent paint from getting on parts I don’t want painted?
Use painter’s or masking tape to cover areas you don’t want painted, such as bolts, threads, and components that are hard to remove. Be sure to press down the tape edges well to prevent paint from seeping underneath.
Q: Can I repaint over a design that didn’t turn out the way I wanted?
Yes, you can repaint if the design didn’t turn out as planned. Simply sand down the paint layer to smooth it out, clean the surface, and apply a new primer coat if necessary before repainting. It’s always best to let each layer dry thoroughly before reapplying.
Q: How long should I wait before riding my bike after painting?
While the paint may feel dry to the touch within a few hours, it’s best to let it cure fully for 24-48 hours to ensure durability, especially if you applied multiple coats or a clear topcoat. Curing time can vary based on environmental conditions, so give it some extra time if possible for maximum longevity.
Q: What should I do if I make a mistake during painting?
If you notice an error, like a drip or uneven coverage, wait for the paint to dry completely before attempting to fix it. Once dry, gently sand the area to smooth out the mistake, clean off any dust, and reapply thin coats of paint as needed.
Q: Is it okay to paint in cold or humid weather?
It’s best to paint in a well-ventilated area with mild temperatures and low humidity. Cold temperatures can cause paint to dry unevenly, and high humidity may lead to streaking or a dull finish. If possible, paint indoors or wait for ideal weather conditions to ensure a better result.
Q: Can I use Spray.Bike on an aluminium frame?
Yes, Spray.Bike is compatible with both steel and aluminium frames, offering great adhesion and durability on both materials.
Q: Do I need a clear coat over Spray.Bike paint?
A clear coat isn’t strictly required but is definitely recommended for added protection, especially if you ride in harsh weather conditions.


